Main Page › Forums › L-5 Restoration Forum › Interior Restoration OY-1
Tagged: L-5 Restoration
- This topic has 6 replies, 7 voices, and was last updated 4 years, 10 months ago by
Sam Taber.
-
AuthorPosts
-
-
2021-03-07 at 8:16 am #4102
I am re-posting this for Mike Kennedy in Atlanta who shared the following photos and commentary of his interior make-over about a month ago. If you don’t find inspiration in what follows, I’ll be surprised.
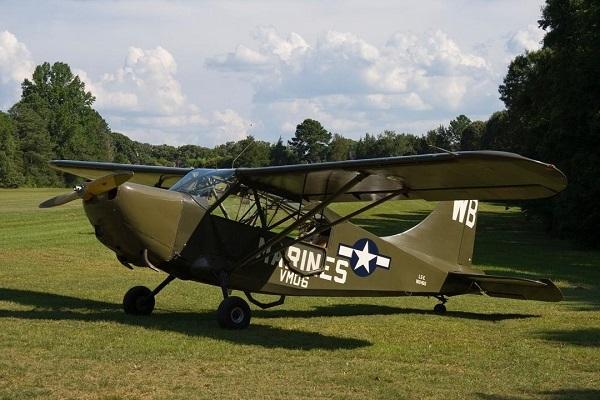
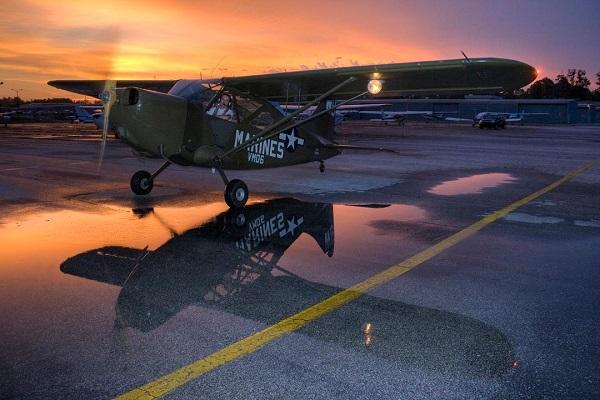
Mike and his partner Joe Hughes have owned ex-Marine Corps OY-1 BuNo 03957 (USAAF 44-17953 ) for many years and through many small projects over time have really improved its interior appearance and authenticity while keeping it flying instead of tearing it down and battling the immense time and expense of doing a ground-up restoration. Their Sentinel operated on Guam in the closing days of WWII, and in Sasebo and Omura during the US occupation of Japan.
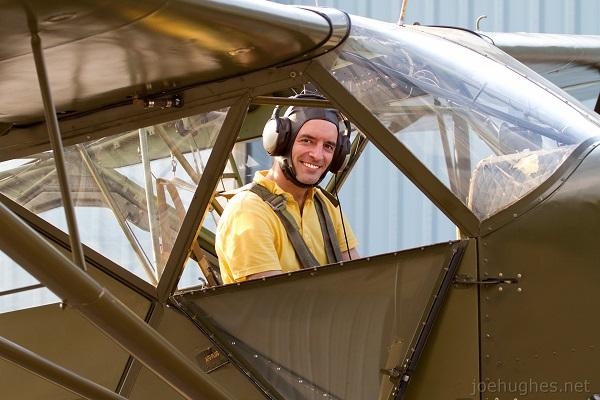
Before we get started, meet Mike and Joe
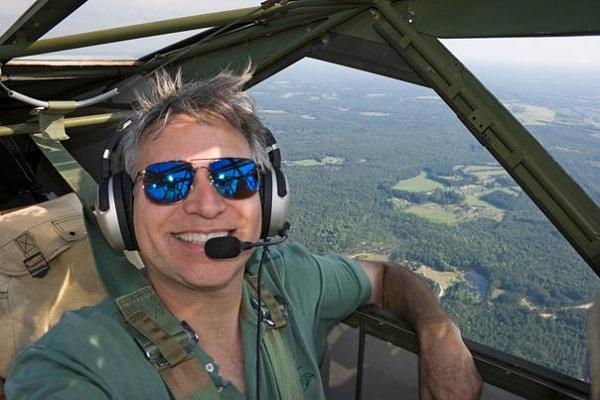
Mike Kennedy, above. Joe Hughes below.
N10640, BuNo 03957
On February 6, 2020 Mike wrote…
I am currently doing a full cockpit restoration on the L-5 and I’m excited about the results so far. It was actually Sam Taber’s L-5 that inspired me to do it. The timing worked out well because I had a health issue that kept me from flying shortly after starting the project.
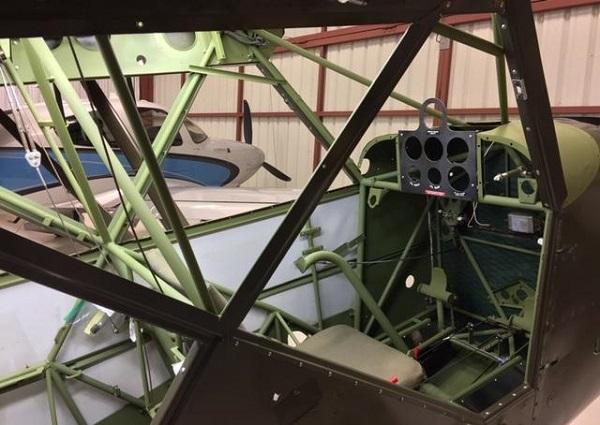
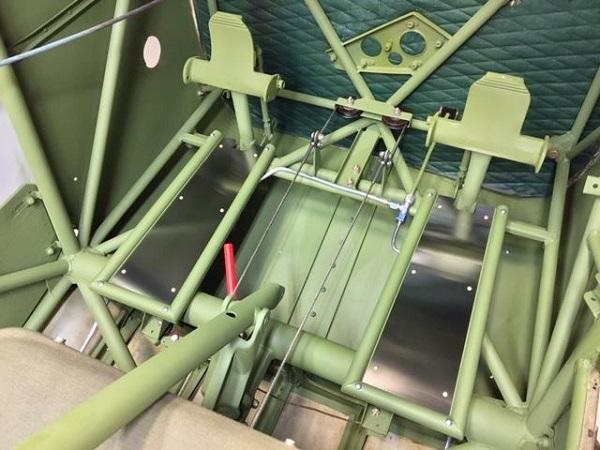
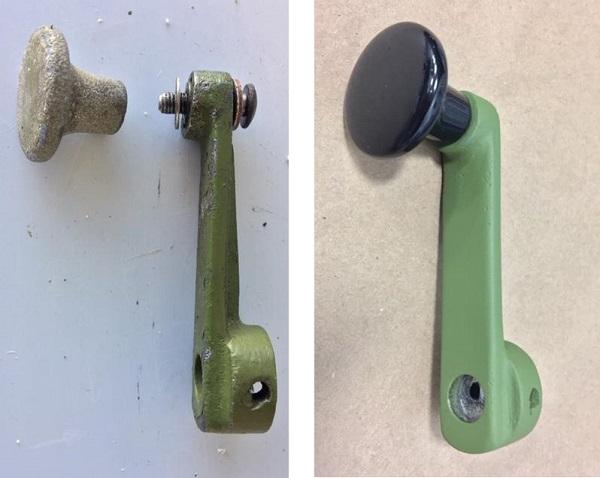
My L-5 frame had a lot of light surface rust and brush painted areas, so I wet sanded all of it with 320 grit sandpaper. I did not sand down to bare metal everywhere, only where the rust went that far and otherwise only down to paint or primer that was still good. This was an enormous undertaking, but since painting is all in the prep the end result I feel was well worth the effort. I wore nitrile gloves to do this and discovered it would’ve been a good idea to wear a long sleeve shirt as well. Toward the end of the project the inside of my forearms itched like hell most of the time. It took about a month after the end of painting for the itching to go away!
I went the traditional route with paint and primer, using PTI zinc chromate and a PTI flat enamel topcoat. I learned a lot of stuff about painting with a spraygun that would probably be easier to relay in a phone conversation. We contacted PTI directly to order the paint color and the folks there were very helpful. We got the PTI chromate from aircraft Spruce. The enamel finish was done since straight zinc chromate is too soft to be durable. I’m really pleased with the results and I think the enamel will hold up well to scuffs and scratches. It has done quite well so far during the reassembly process.
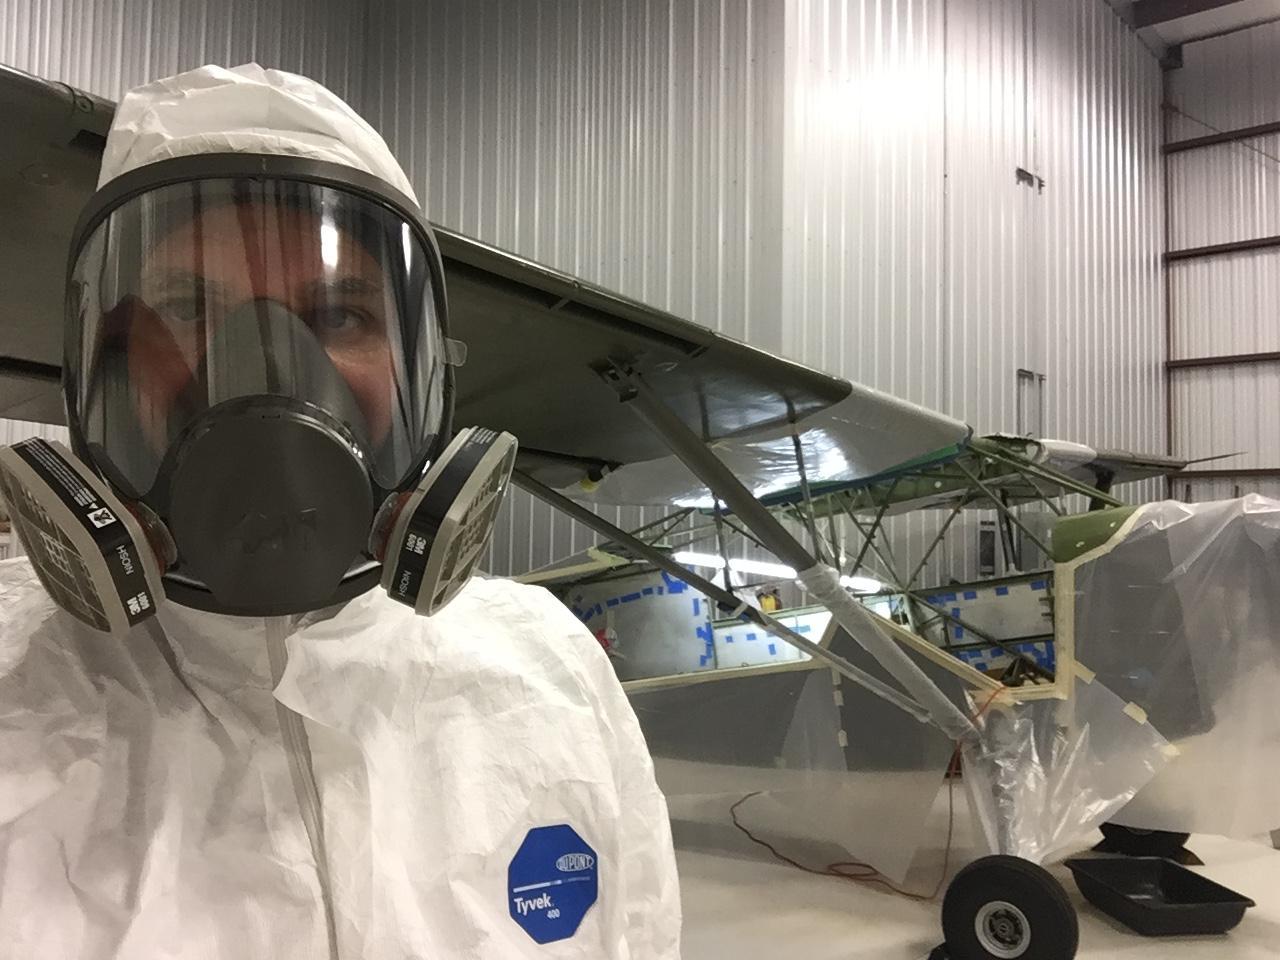
The full face VOC mask was a must for the paint work, and of course the full Tyvek suit is especially important if you’re using zinc chromate. The regular masks you have to wear with goggles do not work, as your eyes will not be protected enough. The paint in the air will get around the goggles and into your eyes. I learned that the hard way in the first session, which I had to stop after 10 minutes or so. The full face mask was great. And yes, both the priming and the painting took me about four or five sessions of up to four hours each. I lost about 4 pounds during each painting session in that Tyvek suit.
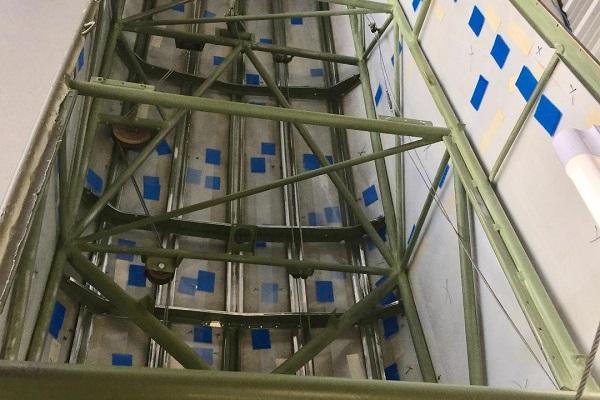
I used some heavy plastic sheet for masking the inside of the fabric. This made it easy to slide it between the frame and the fabric in many places. In areas where the plastic would’ve been difficult to use, I used butcher paper. I left all the control cables in place but removed all of the pulleys. I masked the control cables by wrapping masking tape around them. What I would do differently here: during the trauma of trying to remove that masking tape after painting, I came up with the idea of splitting drinking straws lengthwise and putting the straws around the control cables and just taping them end to end. Too late for me but I hope you’ll find that technique useful.
Protecting what you’ve already painted is quite difficult, especially where the paint is still wet and you’re working around that to get to other areas. You just have to be mindful of that with your arms, your head, the spraygun and the hose and just be as careful as you can. One nice thing I discovered with enamel is that a mistake where you’ve hit a wet area with the hose or something can be fixed just by spraying more paint over it! I’m saying that somewhat tongue-in-cheek, but I did do that several times and it worked quite well! I can’t even find the spots I had to touch up!
The best order of painting is top to bottom, covering the lower areas with plastic drop cloths or butcher paper as much as possible to prevent overspray from dropping down on the lower areas of the frame. I tried to do this as much as possible but in practice it was sometimes difficult and you just have to do the best you can. Despite that, there are really no places in the airplane that I’m not completely pleased with how the finish came out.

Prior to priming I cleaned the entire frame at least twice over with naphtha on clean t-shirt rags. It’s ALL in the prep!!! Prior to spraying the enamel coat I scuffed the primer coat with a fine Scotch-Brite pad to remove any loose overspray and again cleaned all surfaces with naphtha. I was concerned that it would be impossible to see where I had sprayed the interior green enamel over the similar shade of zinc chromate, but oddly enough I could tell without much difficulty.
I used an Italco HVLP Spray gun mainly, adapted with a small cup with disposable collapsible liners that 3M makes that allows you to be able to turn the gun upside down when spraying. The 3M paint system’s small size and capability of turning the gun in any direction were indispensable to this type of work. I got the 3M system and an adapter for the paint gun at a local automotive paint supply store.
One last note. I never thought I would take on a project like this, figuring if I did I’d be dead before it was ever finished. I had no idea just how enjoyable and fulfilling it would be to do this! It has been one of the most satisfying experiences of my life, and I can’t wait for each weekend so that I can get out to the airport and get the next piece of the project done.
-
2021-03-08 at 8:01 am #4115
Boy that looks fantastic – Good job!!
Thanks for sharing
Sometimes aluminum foil is a good choice for masking the cables too; I liked your straw idea as well.
BDude – L-5B44-17141
-
2021-03-08 at 11:10 am #4117
Looks great guys! What a difference. Prep REALLY is everything.
Like Bill I’d used the foil before…but I love the straw idea; less unwieldy at the terminations.
I can’t wait to see the instrument panels installed.
Duncan
-
2021-03-08 at 3:54 pm #4118
Having viewed Mike’s work first hand a couple of months back I can confirm that it is a wonderful improvement. Mike is meticulous with his work and it shows!
-
2021-03-12 at 11:30 am #4135
Another method that I’ve had good results with is tygon tubing. You can cut to the length needed and reuse it.
Don
-
2021-05-24 at 5:31 pm #4343
It looks amazing! I have OY-1 BuNo 03918, we are practically sister ships! Mine is currently in the Marine blue paint scheme, but when I re-restore it in a few years I am going back to the OD/Gray paint scheme since it is more accurate for what my airplane wore when it was in service.
Bill
-
2021-06-06 at 12:03 pm #4349
Great job Guys!!!!!!! You will appreciate that hard work for years to come.
Sam
-
-
AuthorPosts
- You must be logged in to reply to this topic.